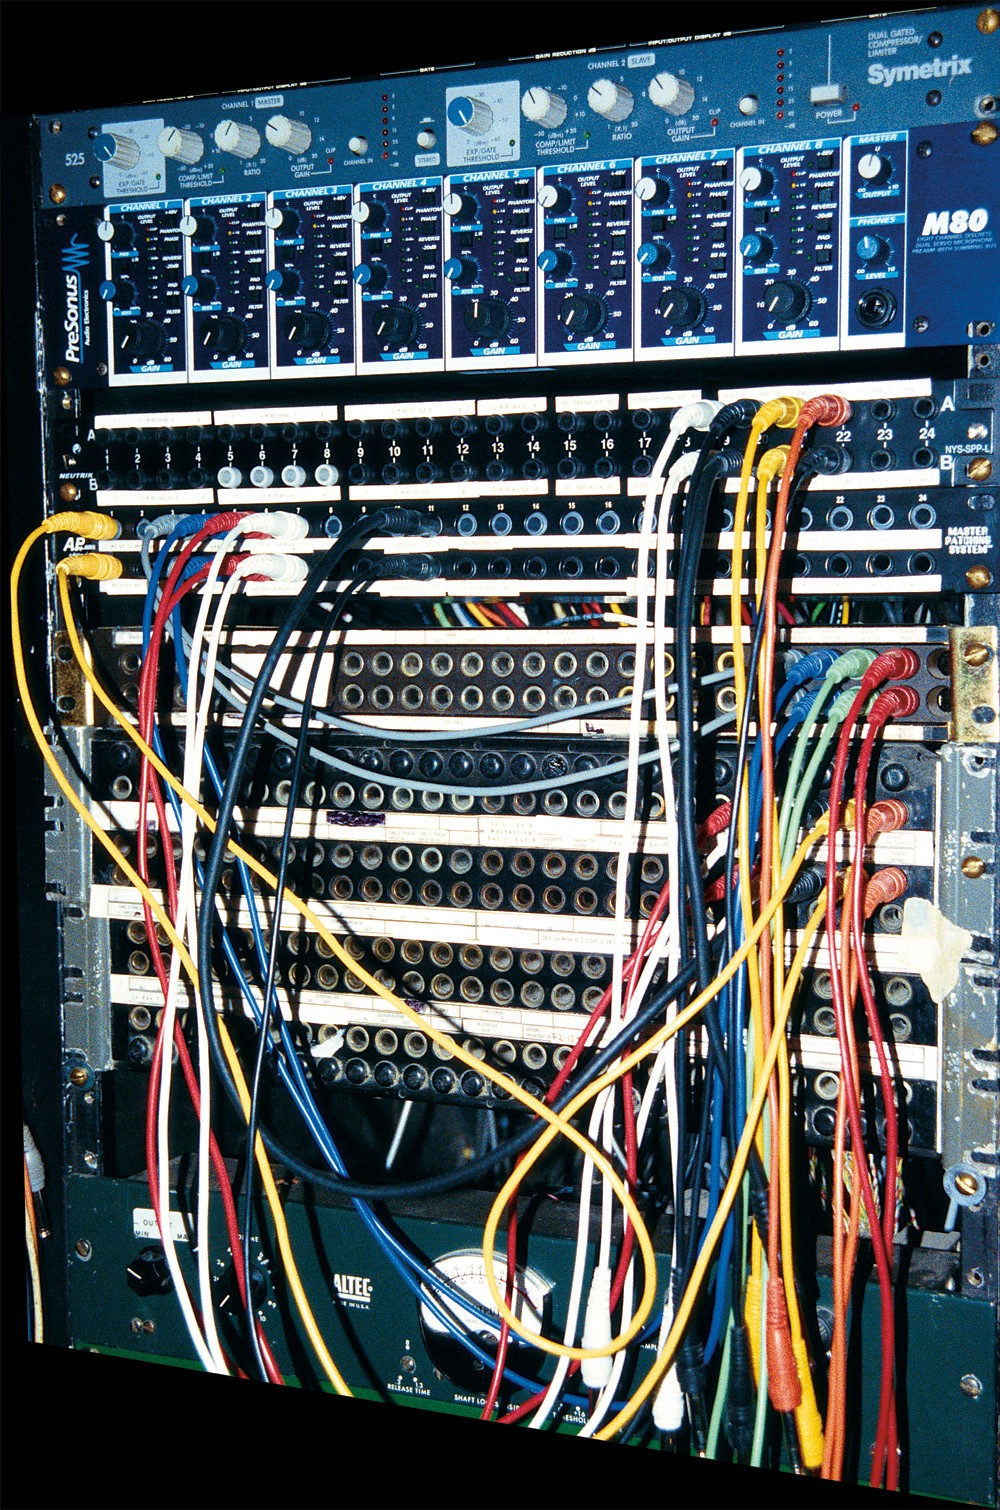
If you're tired of climbing behind your racks, and finding the right cable every time you want to use a piece of outboard gear or a console insert point, it may be time to find yourself a patchbay. A patchbay is a central audio connection area for all the gear in a studio that allows any connection to or from equipment to be made in one location with a standardized cable and connector. Patchbays not only save time and headaches, they allow you to easily perform a number of mix tricks that would take serious head-scratching otherwise.
Types of Patchbays
There are three standard types of audio patchbays: RCA, TT, and 1/4" TRS. Patchbays made with RCA connectors can not handle balanced audio, and therefore aren't really a good option if you have even one piece of balanced gear (like a microphone preamp). Most RCA bays are also limited by a closed design which keeps the user from being able to obtain some configurations, which I'll explain in a bit. TT, or tiny-telephone (also called "bantam"), bays have roughly four times as many connectors per inch as 1/4" bays, and therefore can achieve lots of interfacing in minimum space. Most TT bays have jacks on the front and solder points on the rear, allowing the user to set them up any way he or she desires using only a soldering iron. 1/4" bays are considered more rugged by many users, and though physics says there will be only one point of contact between a round plug and the flat contacts inside a bay, some folks feel that the larger 1/4" connectors sound better due to increased contact area. Try them both and see what you think. 1/4" bays are available with jacks front and back (easiest setup, limited options) and jacks front and solder points back (more involved setup, most options). Some 1/4" bays look like they'll work well with standard guitar cables, but are actually designed for MIL-type 1/4" connectors that have rounded heads rather than the pointed tips of most guitar cables. Guitar cables will work in a pinch, though. Good patch cables for either type of bay are expensive, starting around $10 per cable for a 1.5' patchcord. If you are in an abusive environment, buy cables that are repairable; cables with molded ends don't give you many repair options should something go wrong inside the connector. On the other hand, I have some ADC TT patchcords that have screw terminals inside the connectors, and I occasionally have to open them up and tighten the screws to keep them going. Monster, Mogami, ADC, Neutrik and Switchcraft all make good patchcords in a variety of styles. Contact info for any company mentioned by name is at the end of the article. Some folks prefer the sound of brass contacts to nickel, but brass tarnishes and needs to be polished (try Brasso), nickel stays clean. Monster's patchcords are gold plated. Again, make your own call by listening to your options. Everything contributes to the sound of the final product!
Inputs and outputs
I highly recommend getting a patchbay that allows you to solder your own rear panel connections. Not only will you become really familiar with the bay layout, but you'll improve your soldering skills, get used to the idea of fixing things, and become one with the signal flowing through your studio. Bays with solder point backs allow much more flexible configurations, and save mightily on connectors compared to bays that have jacks front and rear.
It's up to you to find out whether the gear you'll connect to your patchbay can play well with others. You'll need to know that transformer balanced outputs feeding unbalanced inputs are guaranteed to lose level, and depending on how you wire your bay, may not work at all! Unbalanced outputs from consumer devices like CD players don't have the juice to drive most professional balanced inputs as they're at a disadvantage both in terms of impedance and level, you'll get signal, but plenty of distortion, too. User manuals can shed some light on interfacing specific gear, and other good connection advice is available from Rane (Rane Note 110, available online), Jensen Transformers, and from books like Yamaha's Sound Reinforcement Handbook (ISBN# 0881889008).
When starting from scratch try to use the best cable you can afford: Monster, Mogami, Canare, Belden, Redco and many other companies make great wire. You'll need two conductors plus a drain wire to do balanced connections to a bay, just like mic cable. If you're in an area that's subject to RF interference, try using the slightly stiffer cables with a foil shield, as the conductors will be fully protected, rather than cables with a "served" (wrapped) or braided shield which are extremely flexible,...
