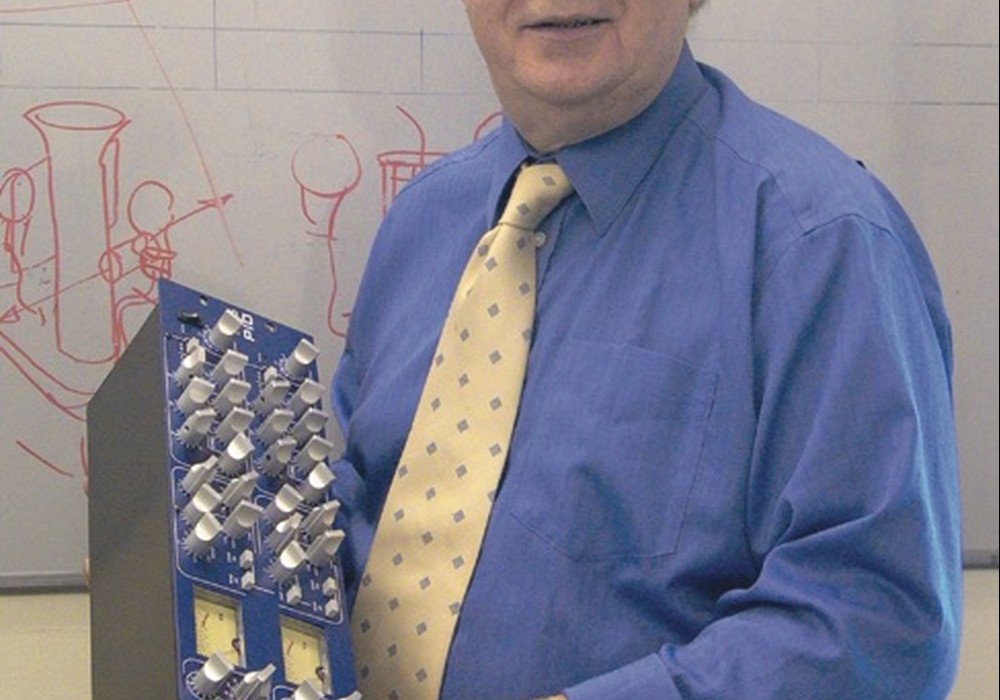
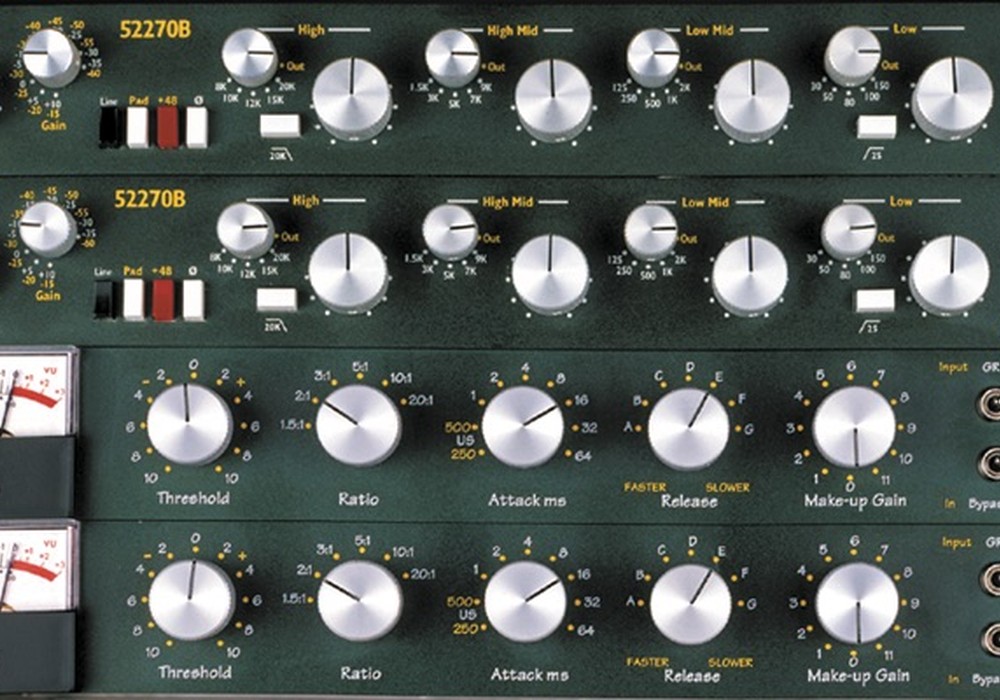
DIY Recording Equipment (DIYRE) is a cool company, making great, easy-to-build DIY studio gear. I've written a few enthusiastic reviews of their kits for Tape Op, and I was glad to get an hour of DIYRE founder Peterson Goodwyn's time to talk about how he ended up on this path.
What is your personal electronic background?
Practically nothing. I have a philosophy degree. I came into this as a drummer who got into studio work. Around 12 years ago I stumbled on this small but fledgling world of DIY gear. I bought my first soldering iron to build a Hamptone HJFP2 mic preamp.
A Tape Op mainstay!
That's right! It started with the Tape Op article. The kit was $800, with a built-in power supply. At the time, that seemed like almost a charity price for a high-quality two-channel preamp.
You're very open about the learning that you've had to do for your products, which is great. It's really easy to experience imposter syndrome in this world.
At first, that was just the truth of it. I didn't know much, and the whole project was an experiment to see if I could learn enough to make the next kit. There's definitely a point with any expertise where the challenge becomes, "How do you not think and talk like an expert?" Because your customers and audience aren't experts. I try to stay as grounded as possible in that, because that's what I saw missing when I started the company. There was no voice saying, "This is not that complicated! I can do it, so you can too."
Also, there's a tendency when people try to speak "every-person-speak" that they resort to snake oil language.
That's something we wrestle with a lot. In order to describe what something does, you do have to get into the mushy, subjective language. For better or worse, "shimmery," "punchy," and "fat" are the best descriptors we have. Usually in our product listings, there's a paragraph about the subjective sound, and then the technical. For me, that's what I always wanted. By being open about what's inside and what it does, I can feel okay about saying the "silly" words, because I know I'm backing it up. I'm not trying to sell anyone something where they don't know exactly what's inside.
If that fat, open, summing mixer is actually just a bunch of resistors, you say that.
Right, exactly. And there absolutely can be magic in a box full of resistors. I would feel weird saying, "This is magic. Don't look inside!" But I'm totally fine with saying, "This is magic, and it's just a bunch of resistors."
The first DIYRE product was the L2A, a re-amp box. Tell me about getting that to market.
I launched the [DIYRE] site in 2010 thinking, "This will just be a wiki and a blog about my hobby." Then I moved to Philadelphia; I was trying to make it as an audio engineer, and I was not making it. I thought, "Okay, I'll make a really simple kit and maybe that can supplement my income a little bit." There were some designs shared on GroupDIY, and Jensen had a white paper about making a re-amp box with a transformer. I started with those things and moved parts around until I got something that seemed cool and useful. Then I was almost paralyzed by imposter syndrome. I hid [the design] on my site. I just put it on the wiki like it was any other project, and I said "order form here." I got 30 orders in the first month! It was just a blank, die-cast guitar pedal box with a transformer and jacks all wired together with hookup wire. No circuit board. It was pretty flimsy, but it got people excited. For the next year or two, I iterated on that. Learning how to design a circuit board. How do you finish metal? How do you label it? Just learning the very basics and releasing every new improvement I had. I was enacting "lean" principles simply because I needed to keep making sales to have money to make the next batch.
At what point did you then try a second product?
The second product was a summing box. There was no chassis. It was just a front panel: everything was mounted on the panel, and there were bus wires that were actual wires flying across the back that everything got soldered to. Again, I was inspired by somebody that had a blog and had done something similar. I made some tweaks. I added the bus wire and made a video on how to do it. At the end I said, "Hey, if you want to get the parts, I'll sell them to you." That was how the business went for the first two or three products.
At some point, things got more real.
That was really with the Colour format.
That was your first original design too, right?
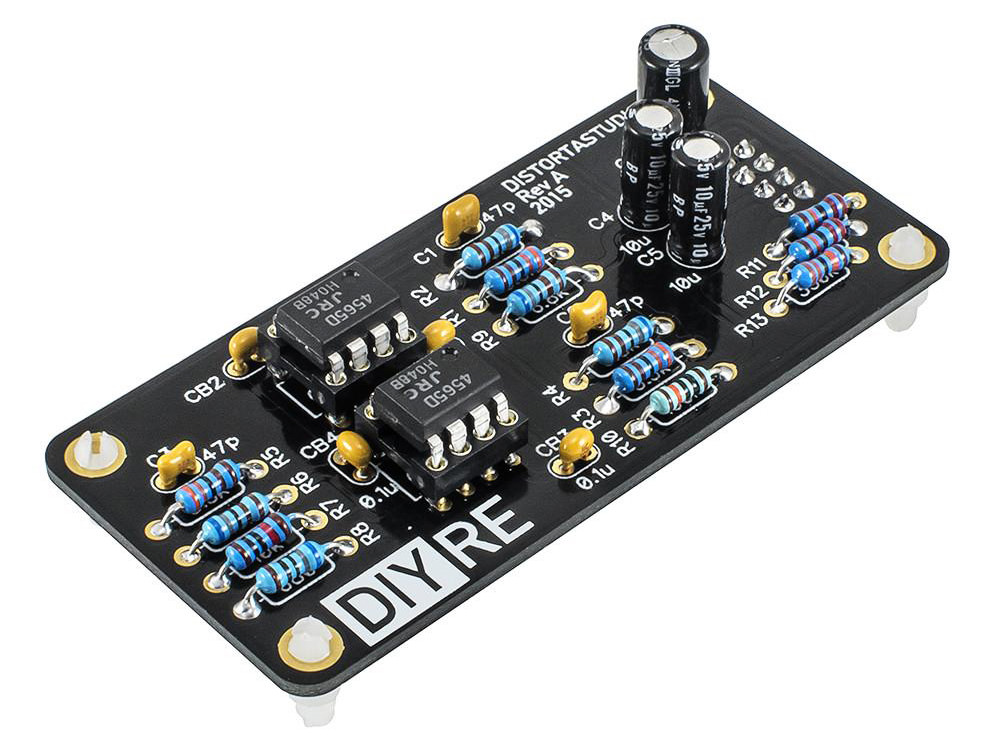
Yep. In 2012 I hooked up with somebody I met on the internet; Link Simpson, a designer in Canada who I've still never met. He had the engineering degree and was into audio. We linked up with the intention of making something cool and unique, just for DIY. We came up with the idea of a multi-stage saturation box. This is where all that time making gear for a community and being very public really paid off, because I wrote a blog post about [this idea], and somebody in the comments wrote, "Why not make it modular, so that you can put in whatever saturation you want, and plug them in and out?" That is the core idea of the Colour format. Link had to withdraw from the project, so I decided to learn about circuit design and PCB [printed circuit board] layout. I would say I spent a year full-time doing something that, no joke, somebody with a background in it could have done in a week or two. But you know, that was my degree. That [product] launched via crowdfunding in 2014. It was our first 500 Series module, our first active thing that required power. That was really the beginning of the company.
How was the Colour received? It's obviously still going strong.
It totally blew me away. We had 500 preorders. It's picked up since then. Other people have jumped on the format and designed Colours; and now people even design other pieces of gear, like the Louder Than Liftoff Chroma, or HRK has gear that accepts Colours. My dream was that it would be taken up as a format, and it's been rewarding to see that happen.
All the DIYRE kits are strikingly affordable. Does that mean you have to compromise on components? If you were making a $600 DI box, would you use a different transformer, or that kind of thing?
No, there's not a compromise on parts. The biggest costs in audio equipment are the retailer, the distributor, and assembly. After that, it's probably support and returns, and somewhere down there is the bill of materials. When you buy from us, you're not paying a retailer's or a distributor's 30 percent, nor are you paying for the assembly. We have a very different return policy, because once people start soldering we can't take returns. We don't have the thing where people buy a bunch of gear just to demo it, because that's expensive for companies. Having all that out of the cost structure lets us spend more on materials while keeping a lower price. I'm sure that we pay more for parts than companies making more expensive equipment, because we can. Also, we have nowhere to hide. You can put a dinky little non-shielded transformer in a DI box and charge $200, and 0.5 percent of people will open it up and see that. We ship you the parts, and you know exactly what you're putting in there. We sell the DI kit with the Cinemag transformer for $150. There isn't a better transformer than that. It's like $60 for the transformer. If that were going to be distributed by another company, it would have to be at least $300.
Your kits all have a classy design aesthetic. The packaging, the typography, everything. But you're not a trained designer.
I think that comes from having a bit of an eye, but also really knowing my limitations. I know I'm not a designer, so I keep it really basic. It's black and white. I look up rules for aligning things and stick to that. I didn't really have an ego about the design, so I'd just observe best practices and keep it as simple as possible. I think that's served me pretty well.
Can you talk about your metal manufacturing and what you've learned?
The way it's done now is we make the designs, then it's manufactured in Taiwan. But I've been through the whole process of literally doing it on my grandfather's drill press in the basement, to renting a co-working space and doing it manually on a vertical mill, to learning CNC machining and doing it on a relatively cheap CNC machine. I learned a ton from that. The biggest lesson I learned was that there was no way I could run a sustainable business while doing the manufacturing myself.
How is the quality of the overseas work you're getting?
I was getting metalwork from a couple companies in New Jersey for a while, and it was nice to have them close by. But, I hate to say, the turnaround was longer and the quality was lower. My impression is that the surviving American sheet metal manufacturers live off of a few big government projects, and if they can squeeze in a little guy like me, they will. I honestly found it hard to even get quotes. So, yeah, the quality is quite good.
When you send plans to Taiwan, does that include etching and silk-screening and everything?
Yes. Now I know what a bright dip versus a regular anodizing looks like, or 180 grit sandpaper finish versus powder-coated or sandblasted. I've done all that, which taught me how to spec it correctly. If I had just gone right to ordering it from China, I would have [potentially] spec'd tolerances that were way too tight and paid more for no reason.
How do you accurately package all those kits?
Oh, man; that's been a real journey. I have two people who do it who are really good at it, but it's all about the processes. There's a lot of quality control. We split everything into sub-kits, which is great for the end user, because they correspond to the steps in the guide. But that was really driven by an internal need to have smaller quality control steps in the kitting process for each kit. So we do a small sub-kit, and we weigh it against the gold standard of each sub-kit that we keep forever. We have written down the acceptable weight tolerances for each sub-kit. We have an internal wiki with standard operating procedures for making every kit and sub-kit so that everything happens in the same order, every time. We have a standardized process where we have some number of everything on the shelves. You can't just take a box off the shelves and start kitting. We use a counting scale to weigh things out. If you're making 50 kits, you weigh out 50 of the parts. That's like a built-in quality control, so when you're done with the kits, all the parts should be gone. Processes like that.
How many people work with you?
Four other people, part-time. It's a pretty amazing crew. It's all people who have done recording or do music, and this is a good side gig for them. There's one person in charge of assembly, a guy in charge of making the kits and ordering inventory, marketing, and then there's a three-person marketing/design team. We actually do scrums [framework development] together on designs and projects.
Are you the only full-time person? How many hours do you work?
Yeah. I don't work crazy hours; I'm not a startup anymore. I have a pretty good work/play balance. I don't even crack 40 hours a week. You can publish that. I'm very proud of opting out of that [lifestyle].
What are your best-sellers?
In terms of volume, the L2A re-amp box is still number one. Then the CP5 Mic Preamp kit. After that the little SB2 summing mixer is our third best-seller most years. Then the Colour format, as a whole.
So, what's in the pipeline?
This year it's been five years [since Colour launched]. We wanted to revisit the first three Colours, which have stayed the most popular; probably because they're the broadest cross-section of saturations you might want. The original ones each had a little thing that did some sort of sound, but they were surrounded by pretty transparent housekeeping circuitry, basically modern op-amps. We redesigned them to have only discrete Class A circuitry. Now there's nothing that's not vibey or colorful. The DNA is the same, but they're more refined. Technically speaking, there are richer harmonics. And subjectively speaking, they're more nuanced; a bit more complex in character.
Going all discrete makes a lot of sense, for that "there's no magic here" thing.
It's funny how the fewer transistors you use, the more interesting things get. In an IC [integrated circuit] op-amp, there're at least 25 transistors, so they're all doing their tiny little jobs; they're all perfectly compensated, and they're not sweating. Then you try to do that with three transistors, and they're all like, "Oh, my god! I'm going to have to work really hard to amplify this thing." That's when they get non-linear.
Do you find that you're able to hear that?
Oh, yeah. Hear it, measure it, you name it. It's hard to put these things into perspective, but if you put our 15IPS mkI and mkII modules side by side, you wouldn't say, "My god, they're completely different." My response is more like, "If I listen closely, I hear a little more richness in the upper mids on this one. This is the one that I'll choose to track everything through."
Anything else new in the works?
The big thing is a rackmount Colour. Where we're at right now is that it's a single rack unit two-channel processor; that, along with the same mic preamp from the CP5, as well as an optional line input with a separate input path that doesn't touch the preamp at all, and three Colours. Basically, it's a CP5 and a Colour Palette mkII right next to each other, with a master mix knob. The last nut we've been trying to crack is this mechanical thing where we want you to be able to unscrew the front panel with thumbscrews and pull out the whole front panel PCB like a drawer, so you can swap Colours without taking it out of the rack.
Can you tell me a little bit about your prototyping process?
We have [prototypes] made up in Taiwan by the same company that will be making it.
So you send CAD drawings to Taiwan and they do one-offs for you?
Yes, which is expensive. But, in my experience, there's no point in prototyping something not at the place that's actually going to make it. So that [prototype] comes in and we play with it. The last one, the PCB could get stuck in the rails; so with this new one, the PCB is mitered on the corners. I had picked big thumbscrews because it's fun to do big screws; but they felt badly weighted visually on the front panel, so we went to a smaller thread size. And it was a little bit too difficult to push the front panel in. We didn't want people to feel like they were going to break something. So we found a different connector with a lower insertion force. In the end you're going to see it and think, "It's so simple! I could have done it in a day." 
