The Michelangelo is a discrete, Class A, all tube, full-stereo equalizer with Jensen input and output transformers. Each unit is hand-made in Texas on a first-come-first-served basis. Go ahead and order one now, then come back to read the rest of this review. I’ll wait.
Michelangelo is the original design of owner Chris Henderson, rather than a clone of a classic unit, so it is worth going over the controls. From left to right: toggles offer true (hardwire) bypass, two calibration pots (sans control knobs – for a reason – once set you don’t want to accidentally bump them) allow precise gain L/R matching. The remaining are ganged stereo controls: Aggression alters the drive in the circuit for extra saturation. Low, Mid, High, and Air shape respective EQ bands while adding more harmonic content on larger gain changes. Finally, Trim acts as a level interface for the next piece of gear in your chain. Staggered above and below the tone knobs are four toggles allowing even more flexibility. Low Shift changes the emphasis of the low-shelf from 150 Hz to 80 Hz, Mid Shift alters the response of both Low and Mid. According to Hendyamps, this can effectively assign the low-mids to either control. High Shift alters the curve of the high shelf. Likewise, Air Shift does the same for its corresponding band. Finally, the Vintage toggle provides the choice between the hi-fi sounding modern mode and a darker/old-timey vintage flavor, which gently alters the High and Air controls to give them an old-school vibe.
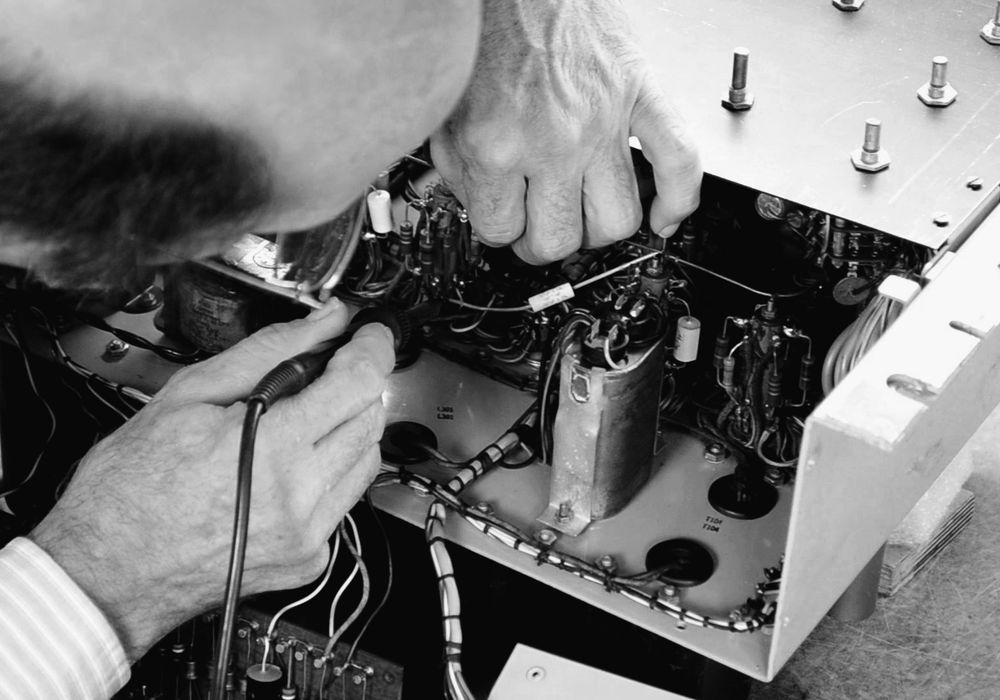
Under the hood are three easily replaceable tubes, four Jensen I/O transformers, and a substantial power choke. A massive power transformer juts out of the back. There are many ways to design tube gear, and they don’t all require 16 valves to get great results. Ultimately, the circuit design and interplay among the components matter the most. In that regard Hendyamps have done their homework. Since the units are built to order, the manufacturer offers some customization in terms of knob and panel color. Most people choose standard black or blue faceplates, but I thought it would be a good idea to go with a green color not found in nature – no worries, I’m not returning the review unit! Stepped controls are available as a cost option, and I had originally specified them. But while conferring with Chris Henderson, we agreed that full-range pots are both less expensive and more useful in real-world application. The ability to massage curves smoothly by ear is often more desirable than the gain jumps that might occur with stepped pots. On a surgical EQ (like Maselec, GML, Sontec, et al.) stepped pots make a lot of sense, but on a tone box; less so.
Here are my usage notes, observations, and opinions: First, where the Michelangelo is placed in the signal chain matters. I tried to have it at the end of the chain as a sort of polisher, however, small control changes were too drastic, prohibiting me from using the full power of the unit – no point in having a race car you can only drive 25 miles per hour! I moved Michelangelo towards the front of the signal chain, which proved to be a better batting order for the unit. Hendyamps started as a guitar tube amp company, hence those topologies surely influenced the designer. As expected, the Aggression knob is similar to the input gain on a guitar head, and minimum values tend towards cleaner results while moving clockwise quickly adds harmonic distortion. Though it lives close to minimum most of the time, there have been projects where getting wild and driving it to 1 seemed to work. On a release for the Brooklyn-based band Pegasaurus I was able to drive it to 5, but that was a special case. Regardless of aggression, having the trim control at the end allows users to make sure you’re not blasting past where optimal output should be. The rest of the chain thanks you.
For tone shaping, setting the EQ bands to 5 (noon) is rather neutral. Simply running things through Michelangelo adds a slight transient bite or dimension. Shaping with Low, Mid, and High seems to be active while Air is more like a passive EQ, resulting in a top range affected by calibration and aggression settings. But in general, the best practice is to close your eyes, turn the knobs until it sounds right, jot down the settings, print a test tone (for recall), and you’re set. In one instance when I was done exploring the gain staging and the low/high shelf fun, I was able to dig into the mids. It seems that the mid control covers more spectrum than high and low do. Getting really advanced requires exploring the bottom row of toggles. The Vintage switch really alters the tone here. It’s like comparing a ribbon mic to a condenser, and in the right application it could be a lifesaver. The other shifter toggles add more flexibility when the default band frequency needs to be moved from the default value.
Although I used the Michelangelo for mastering, I must say that mixing and tracking engineers should consider it as a short list audition piece. My main complaint is that I want to use this EQ on every project even if it is not appropriate to do so. I will caution that the Aggression circuit is seductive – a little goes a long way, so keep that in mind. I often send review gear down the hall to the mixing guys to test, but there was no way I dared do this with Michelangelo. They would never give it back, even with my crazy green faceplate.


_disp_horizontal_bw.jpg)