When I first sat down to write this piece I was a bit apprehensive. Over the years there have been countless magazine articles on mixing techniques and tips. I kept thinking, "Man, every Tape Op reader probably already knows this stuff. I'm going to get hammered with 'duh' email." But then I remembered that whenever I had read any of those 'tips' pieces, I almost always picked up a new trick or two. So, as a green comedian in the Catskills was once heard to say, "Bear with me if you've heard these before..."
Some of these techniques have been around for decades, others were developed out of necessity. Equipment limitations can force a creative engineer to approach a mix from a fresh angle. Often a great mix trick is discovered by accident; it can be a beautiful thing when you forget to unplug a random patch cord from a random piece of gear.
An important reminder: nothing is absolute. Please take my suggestions with a shaker of salt. There are no rules in creative recording. Music and sound mean a lot of different things to a lot of different people and lemme tell ya, there are a LOT of people in this world who listen to recorded music. If the art of recorded music is going to progress, the participants in the art had better learn to free their minds, be open to wacky new ideas, and above all, trust their own taste. If, in this article, I say "always", what I really mean is "usually". If I say "never", I mean "rarely". Dig?
Let's dig into a mix.
WATER + DIRT = MUD
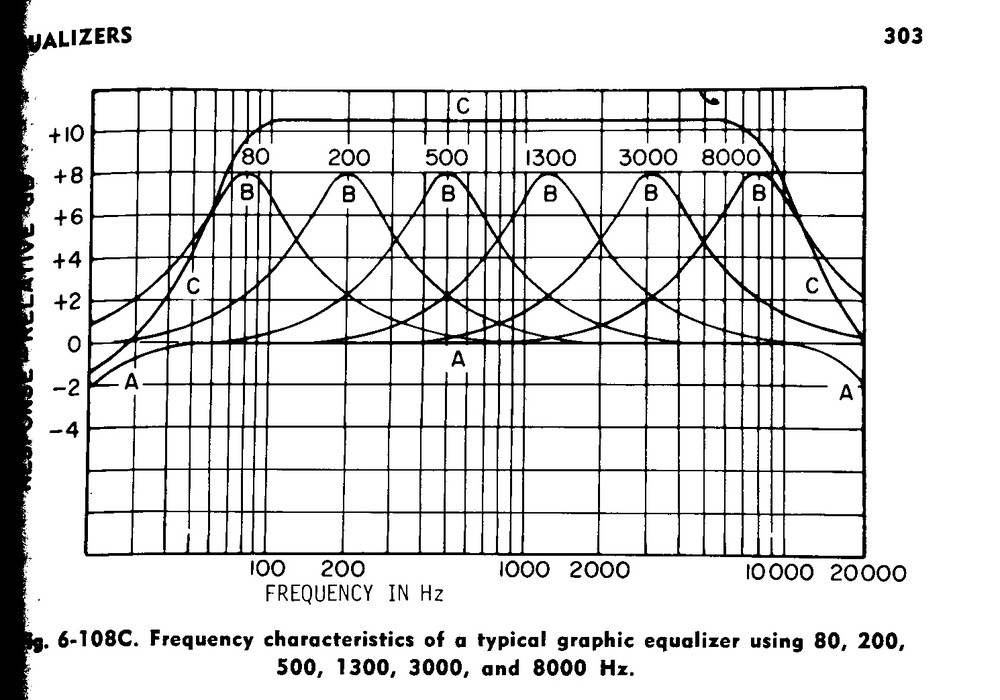
Remember the "mud factor." You know what I'm talking about. That dreaded frequency area roughly between 180 and 350 Hz. Seems like such a small range... why are there so many problems associated with it? A lot of instruments used in popular music have fundamental tones falling in the "mud range": the low strings on an acoustic guitar; the low notes of most electric guitars (the nifty "thump" of a Les Paul thru a Rat pedal thru a Marshall stack comes to mind); the majority of male vocals; certain bass guitars; the tone (not the impact) of many snare drums; tom-toms; etc. etc. Anyway, while they may sound great on their own, in a lot of cases, these elements tend to pile up and muddify your mix — if you're not careful.
MUD AVOIDANCE: Don't touch that "solo" button!
Well, you can touch it, but try not to rely on it for EQ-ing. The point of mixing is to get all the instruments and vocals to sit together, not necessarily to sound amazing by themselves. Mixing acoustic guitars in the context of a rock song is just one good example: if you solo the acoustic track and EQ it by itself, you're liable to make it sound very full-bodied — which would seem desirable. However, with drums, bass, electric guitars etc. competing for space, you'll probably want to thin out the acoustic a bit so that the instrument's upper harmonics are emphasized. This way, the acoustic can sit lower in the mix, still be heard and it won't contribute to the "mud factor." Anyway, try to do your overall EQ-ing with all the faders up. Once you get used to EQ-ing this way, you'll find your mixes go a lot faster.
...AND FOR MORE REFINEMENT...
EQ the mix initially in mono. It sounds easy, but it can be very tricky. During tracking it's sometimes tempting to layer, layer, layer (hey, we all know it's fun...) But too many elements in the mix can add up to audio claustrophobia. All too often we take the easy way out and pan similar-sounding instruments away from each other in order to give them their own sonic space. But it takes discipline, good judgement, and perky ears to be able to make sonic elements fit together in mono. You may need to emphasize or cut frequencies in a way that seems counter-intuitive. You may want to consider axing a part or two. It's a studio hyper-cliche, but less sometimes is more. I'm not saying mix totally in mono (go for it, if you want...) I'm just saying if you can get the mix to sound halfway decent in mono as a starting point, it'll be a breeze to make it sound great in stereo.
DE-ESSING BEFORE REVERB
A fave of mine. It's a subtle thing, but it can open up a bit of extra sonic space. If you want to avoid the exaggerated essi-ness encountered when adding digital reverb to a vocal, of course you can try de-essing the vocal. Often, though, this can make the vocal sound lispy and artificial. A technique I've used for a while is to split the vocal track into two channels, using one in the mix and heavily de-essing the other. Then the heavily de- essed vocal (which isn't in the stereo mix) can be sent to a reverb unit. The resulting reverb is warm and clear, yet contains much less of that awful "reverb essi-ness" since it originates from the de- essed vocal. Meanwhile the "mix" vocal, still with a bit of essiness to it, sounds bright and natural. This technique has worked really well for me when I want to stylize a bright female vocal by drenching it in a long hall or plate reverb.
"GHOST" GATING THE SNARE
Similar in principle to the above in that you're able to retain a snare track's natural attack and decay while stylizing with non-sloppy effects. Try splitting the snare track into two channels, gate one severely and send that signal to a reverb, but keep the channel itself out of the L-R mix. Use the ungated snare channel for your main snare and the reverb from the gated channel for your main reverb. By doing this you can avoid cymbal and hi-hat leaking into the reverb while being able to use a nice natural-sounding snare in the mix. Like the above vocal de-essing trick, this technique is especially nice if you're looking to add a big hall or plate reverb that would normally become sloppy and distracting- sounding if it had cymbals, etc. leaking into it.
A related snare trick that's subtle but effective is recording the top and bottom of the snare onto separate tracks (a common practice if you have the tracks) so that you can only send the top to your reverb. This allows you to judiciously add the rattly bottom of the snare (a little goes a long way) into the mix without it becoming too magnified because of reverb.
OH, AND TRY TO HAVE SOME FUN
It's important, and very possible.
